The Blog
Hey there I'm Kelly ... a Realtor, Shopkeeper, Designer & Mama to 4 crazy kiddos.
If you are interested in seeing how I paint furniture, sell houses find cool finds for my retail boutique and wrangle my crew? Then jump into the blog...my life isn't perfect it's messy + busy but I love it.
Read the Latest bellow....
CHeck out our Favs

For those of you that are new to Stylish Patina, I just wanted to say hello. I am a mom of four a wife and lover of business, marketing and all things HOME related.
The blog is filled with anything from my Real Estate Picks, Interior Design trends, curated gifts from the shop, my favorite mom hacks and DIY Furniture Painting tips + tricks!

my nightly
skincare regime
You can either type this featured post content manually or use a post look-up function in SHOWIT directly. It can also rotate between several posts.
Popular Posts

browse popular categories

browse
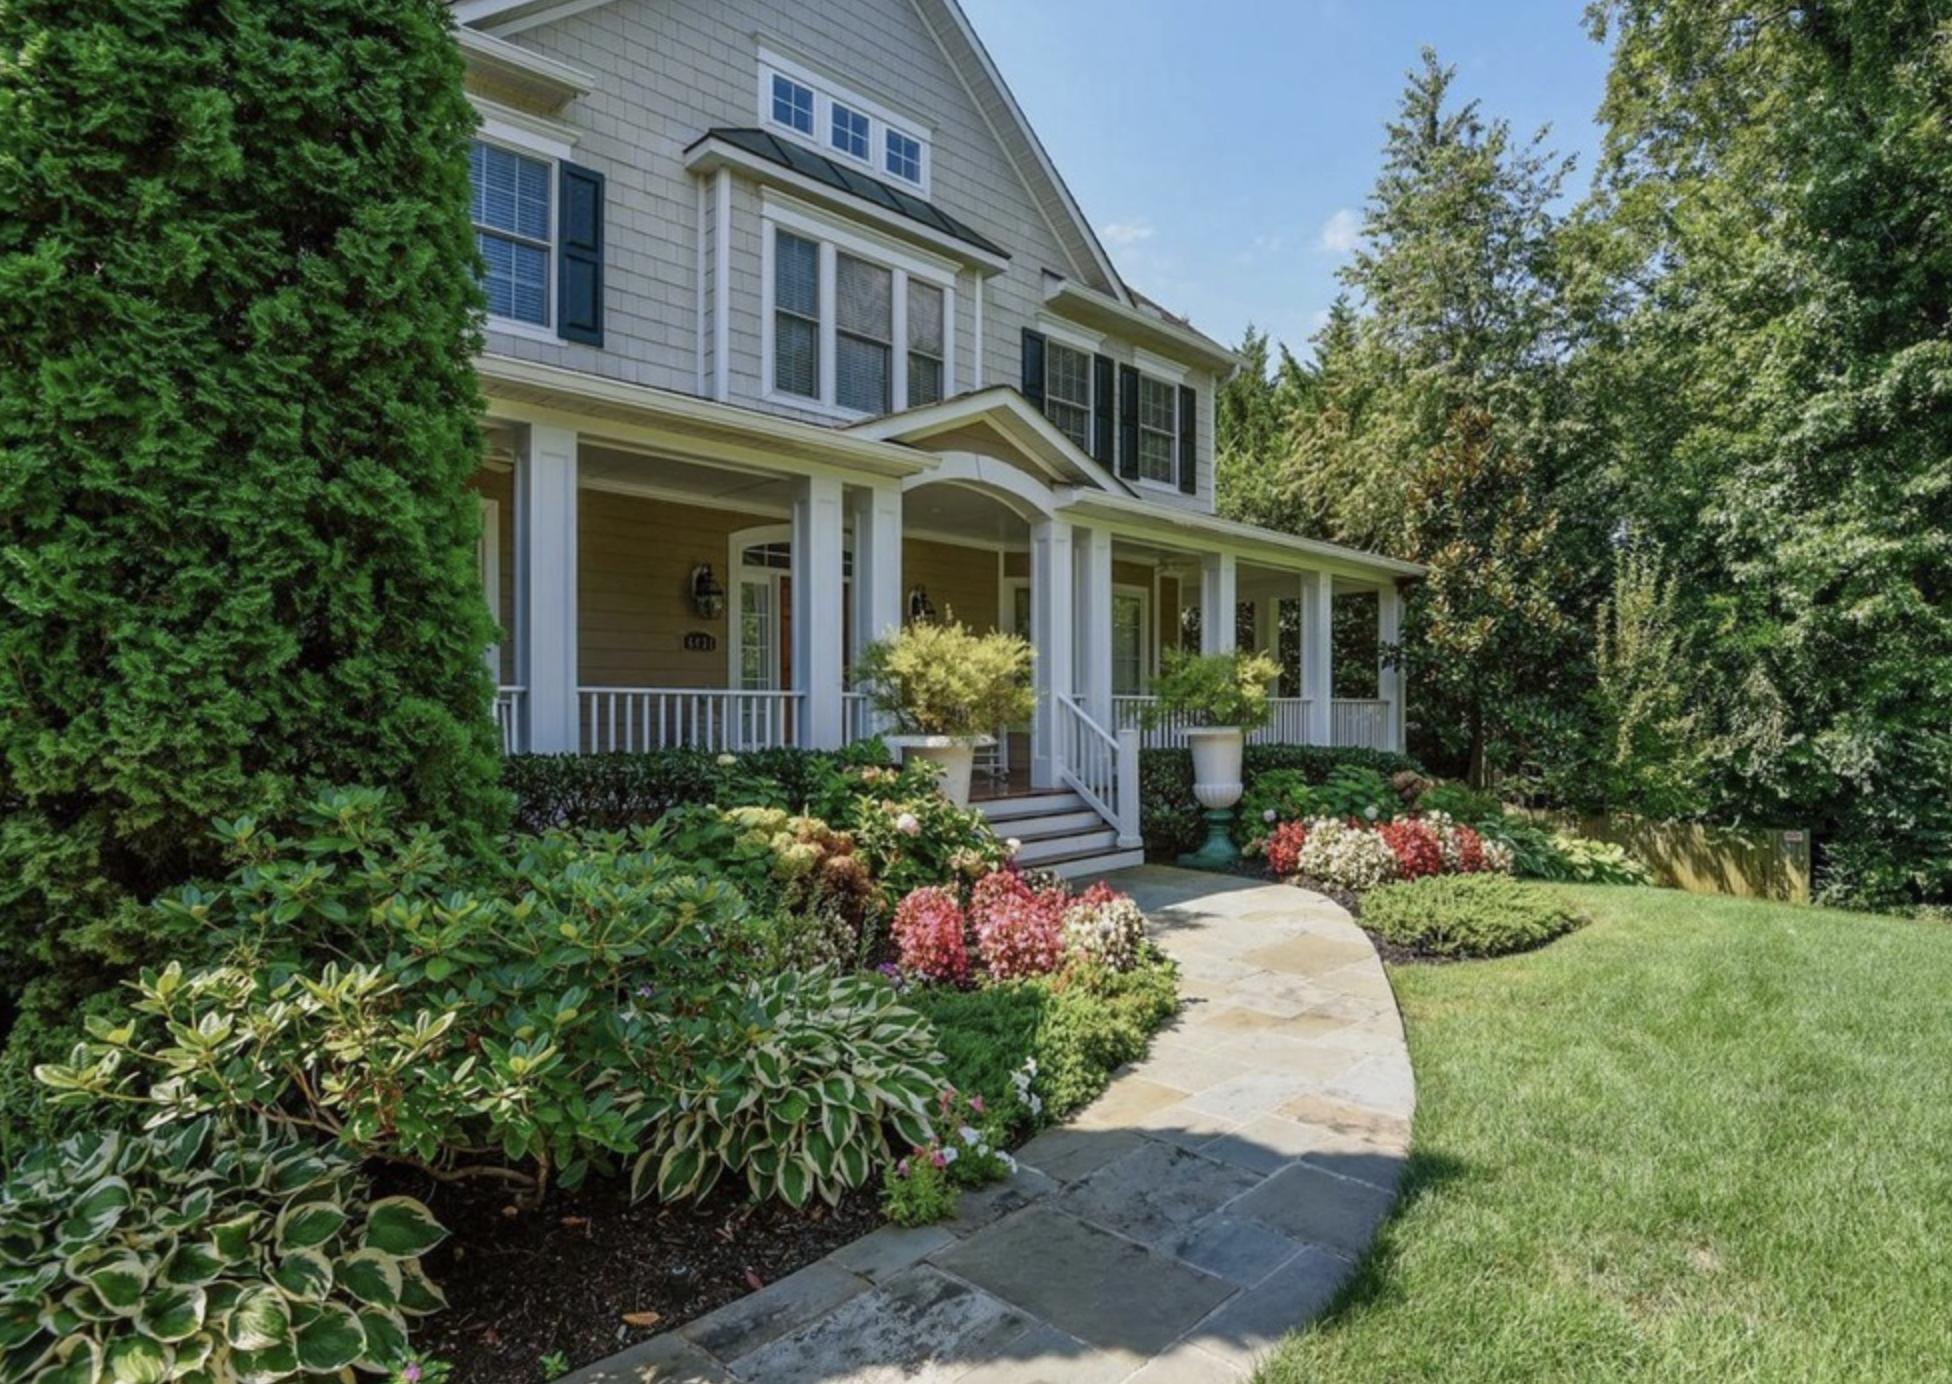
Real estate
Do you love house shopping? Keep reading to get info, tips & news about the Northern Virginia Real Estate Market. Local market insights from an ACTUAL local! It doesn't get better than that.

browse
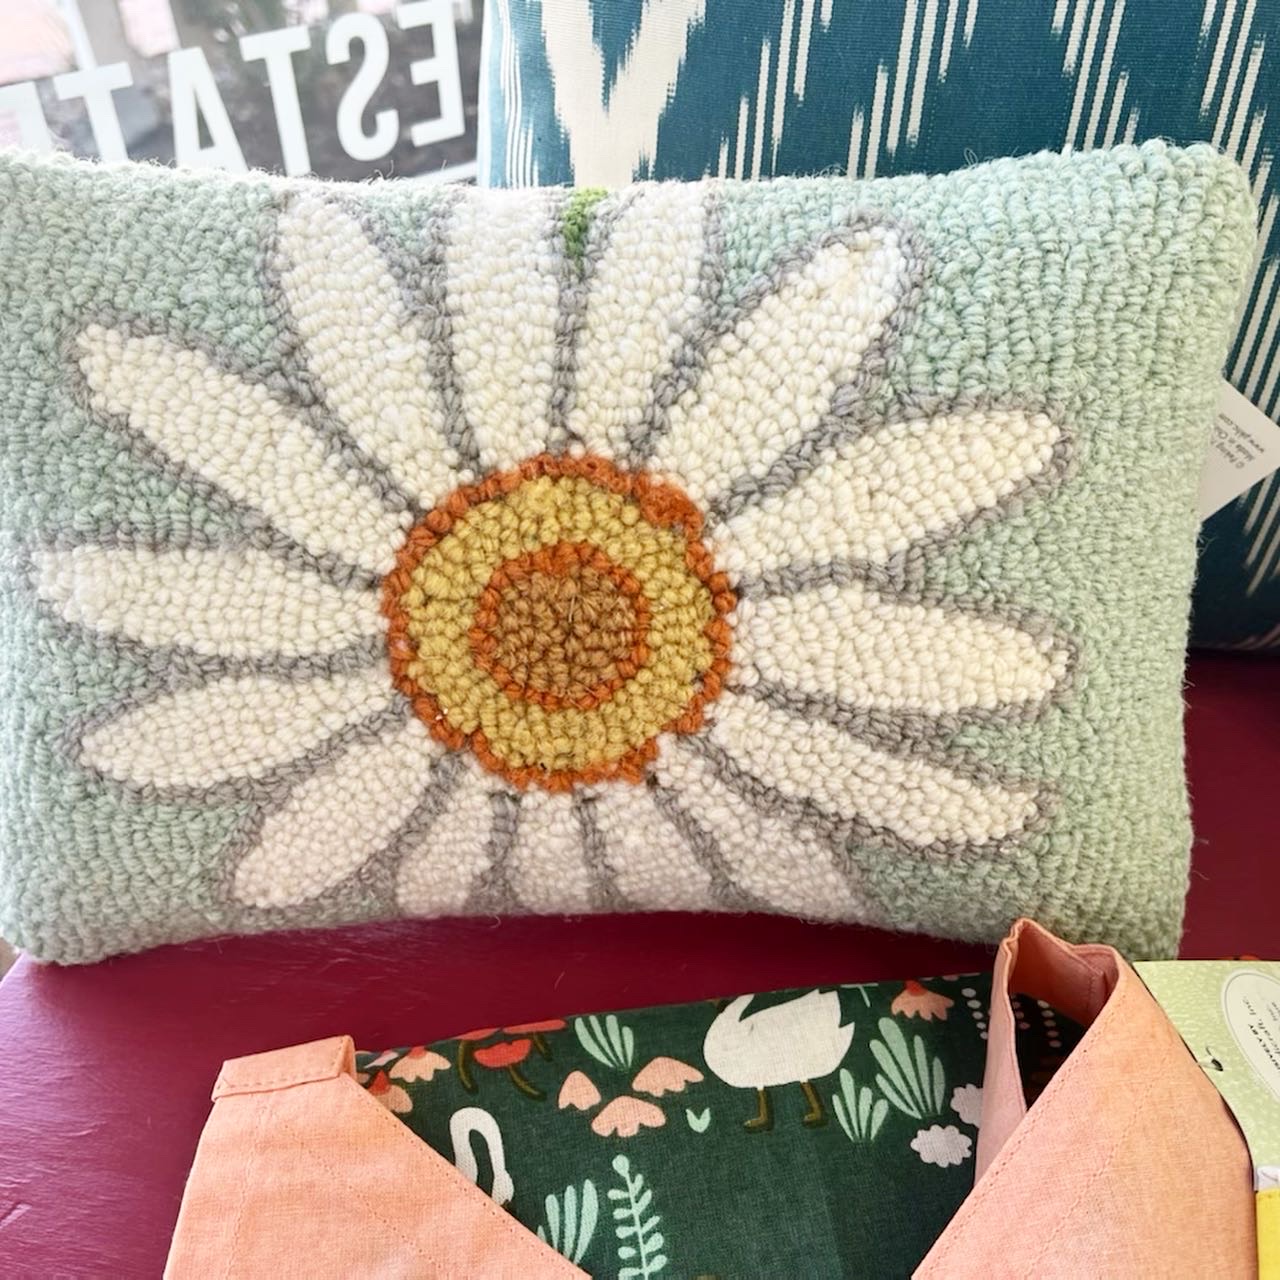
The shop
From Home Decor, Vintage Furniture and a selection of the best Gifts you'll ever find, this is the place for impulse purchases!
browse
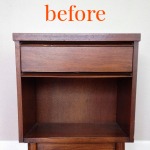
Paint & DIY
This is where you dive deep. Deep into all our how to's, inspiration posts and personal projects. We've been doing this for 15 years, so get ready for LOTS of amazing content right at your fingertips!

hey there!
I'm Kelly Millspaugh Thompson.
I am a native of Northern Virginia and love being a REALTOR in my hometown! I am a recovering Corporate Exec turned Serial Entrepreneur. I live & work in my hometown of Falls Church, VA. I love all things HOME related.
I have owned a Home Furnishing + Gift shop in Falls Church City called Stylish Patina Home for over 10 years. Come say hi!


DOWNLOAD
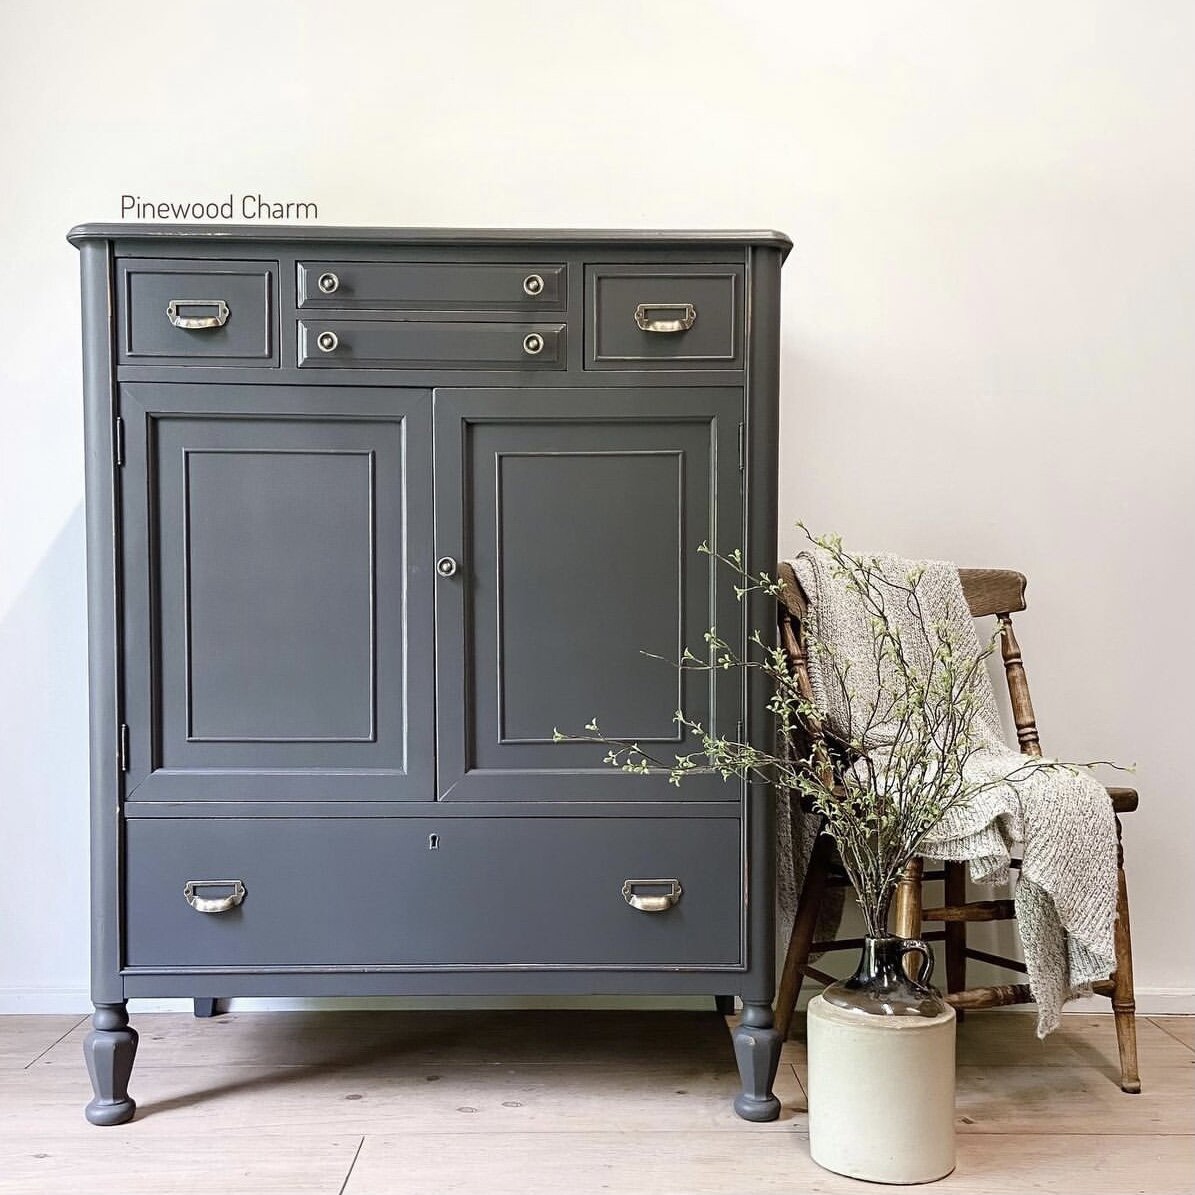
Master the Basic Finish Technique!
no priming
no sanding
no joke!
Grab this FREE guide & learn exactly how to acheive the Basic Finish you see on many of our pieces!


